


Related posts
Quiet Luxury: Why Understated Is the New Status Symbol

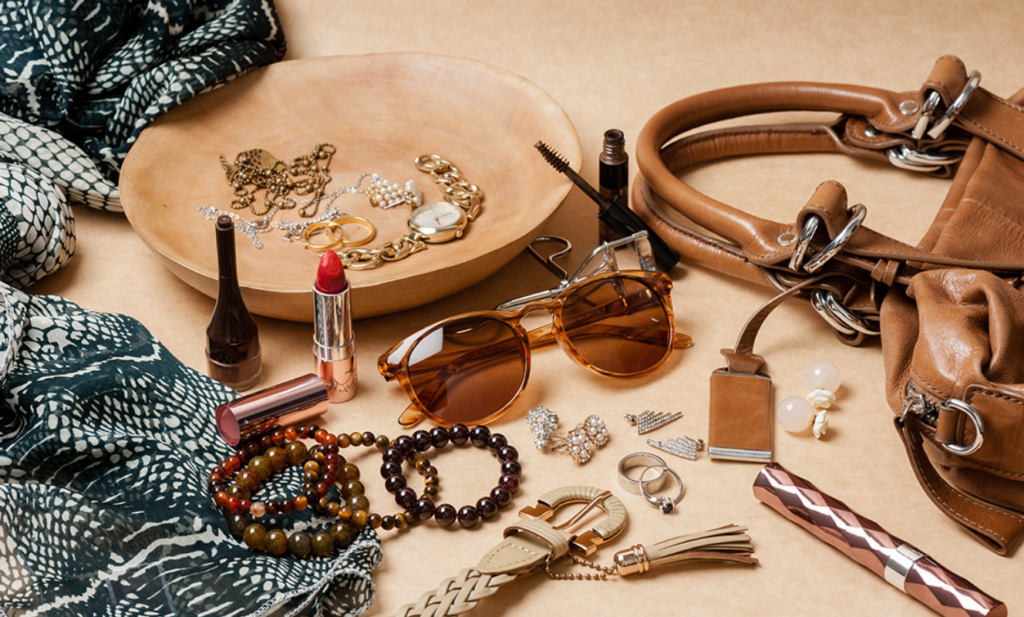
For years, luxury meant visibility — bold logos, instantly recognizable branding, pieces designed specifically to be noticed and identified at a glance. That's shifting, and it's shifting fast. Quiet luxury is now the de...
Best Geometric Pearl Box Handbag Elegant White Party Bag

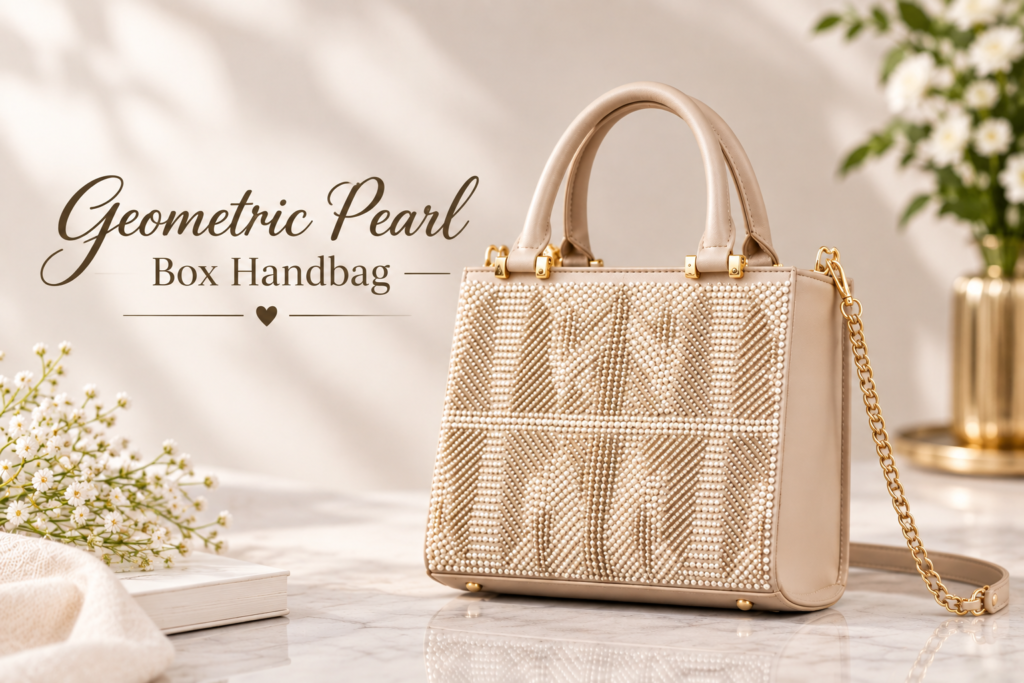
Geometric Pearl Box Handbag – Elegant White Accessory for Women
A stylish handbag can instantly enhance your overall look, especially when you are dressing for a party, wedding, dinner, or special occasion. The Geomet...
5 Timeless Handbag Styles Worth the Investment
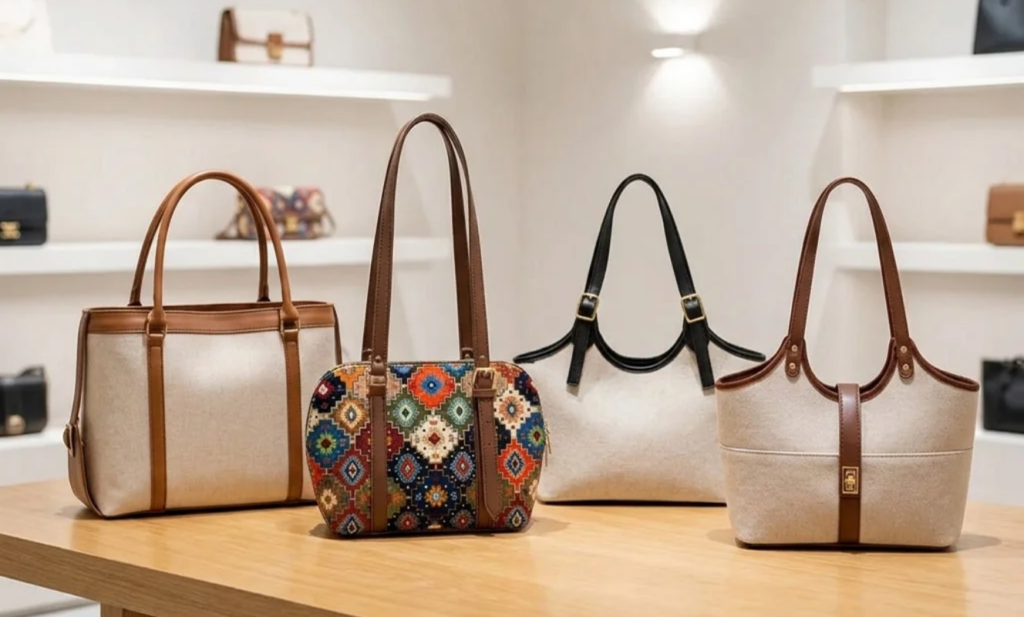
Trends come and go every season, but a handful of handbag styles have stayed relevant for decades — and will likely stay relevant for decades more. If you're making an investment purchase, these are the timeless handbag ...
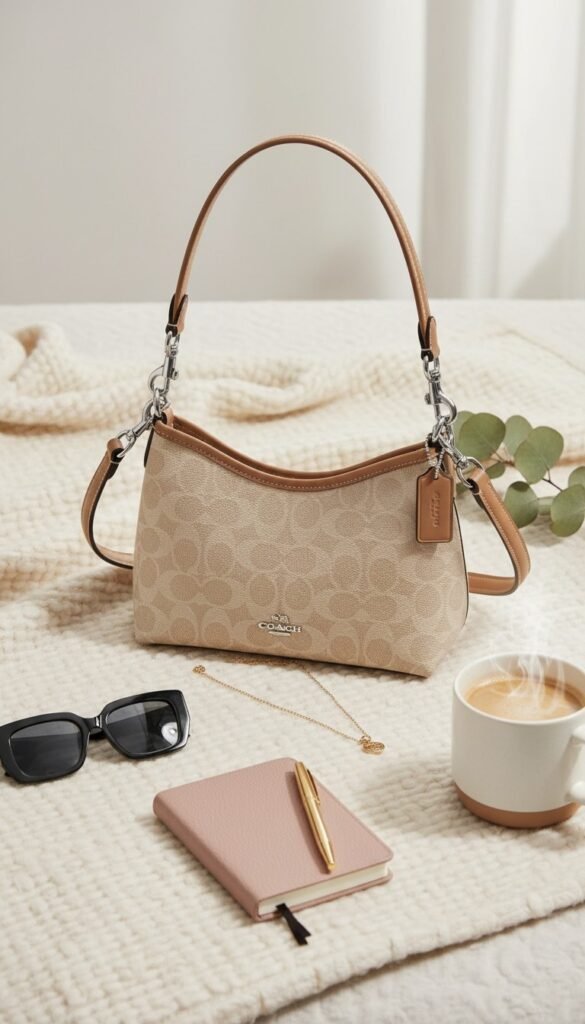
Premium Faux Leather Ladies Handbag – Stylish, Elegant & Affordable
Faux Leather Ladies Handbag: Stylish & Practical Choice for Everyday Use
A handbag is more than just a fashion accessory. It is an essential part of everyday life, helping women carry their important belongings wh...

Home Décor Trends 2026: Ideas That Instantly Elevate a Space
Great home décor doesn't require a full renovation or a massive budget. Sometimes the right pieces, placed intentionally, are enough to transform how an entire room feels. Here are the home décor trends shaping interiors...
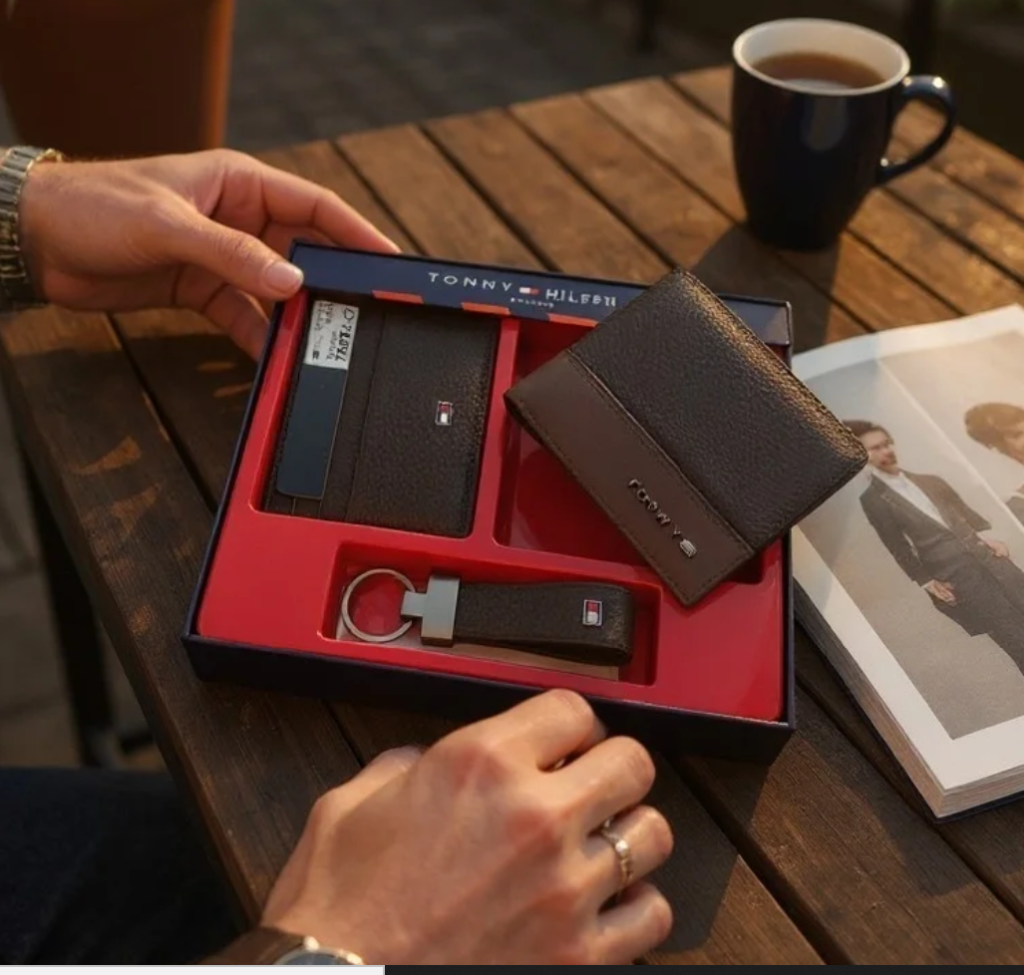
Coffee Leather Gift Set Wallet, Cardholder & Keychain
Premium Coffee Wallet, Cardholder & Keychain Gift Set: The Ultimate Guide to Style, Quality, and Everyday Utility
Finding a gift that strikes the perfect balance between timeless elegance, everyday utility, and lo...
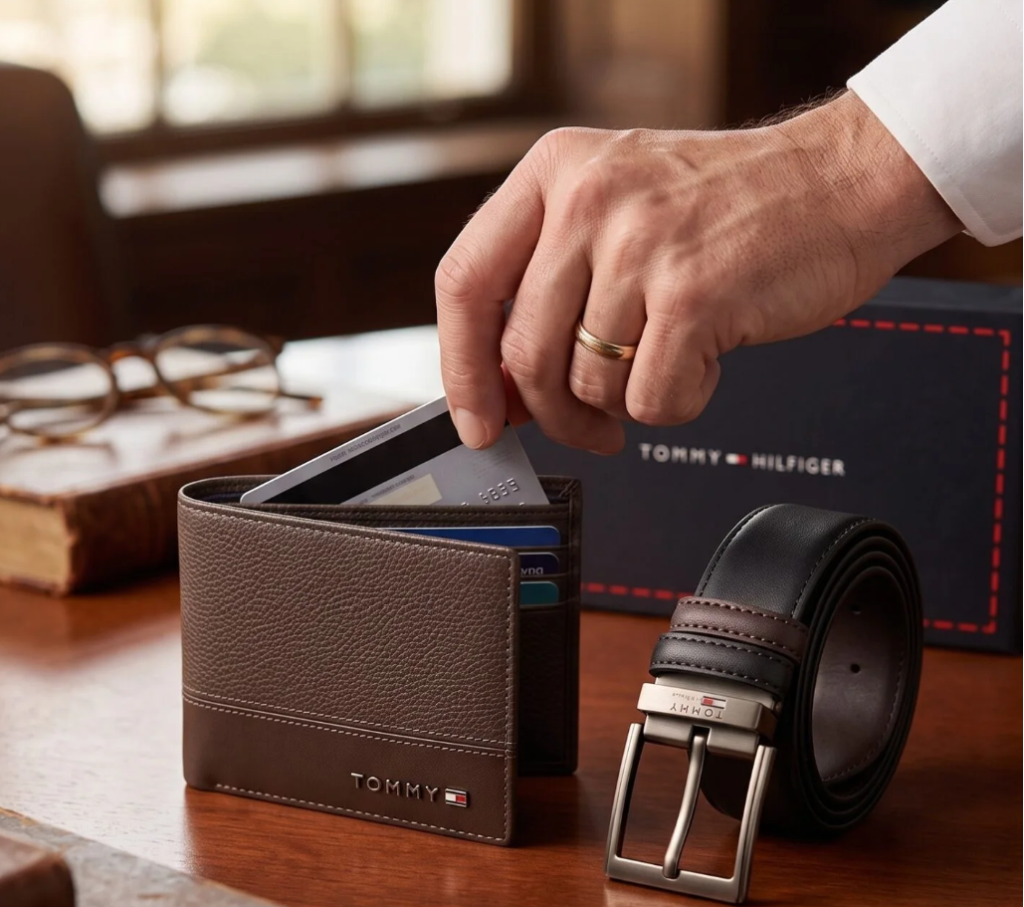
Coffee Wallet & Two-Tone Dress Belt Gift Set – Stylish Everyday Essentials
Coffee Wallet & Two-Tone Dress Belt Gift Set – Stylish Everyday Essentials
Finding a gift that is both useful and stylish can sometimes be difficult. A good gift should not only look attractive but should also bec...
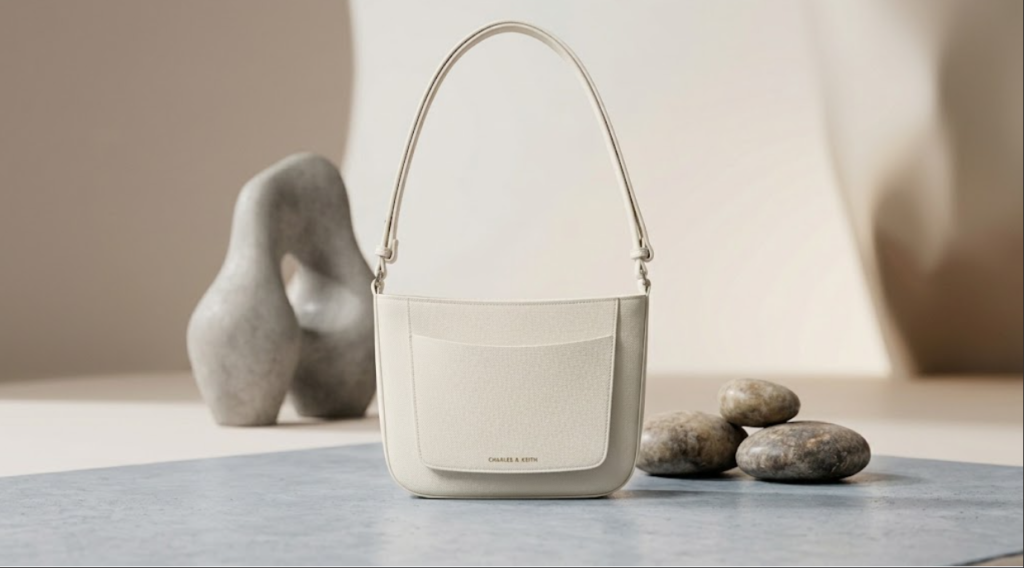
Charles & Keith Irie Tote The Ultimate Faux Leather Bag
Charles & Keith Irie Structured Tote Review: The Ultimate Faux Leather Everyday Bag
Finding a handbag that bridges the gap between sleek professional elegance and functional daily durability is often a challenging...
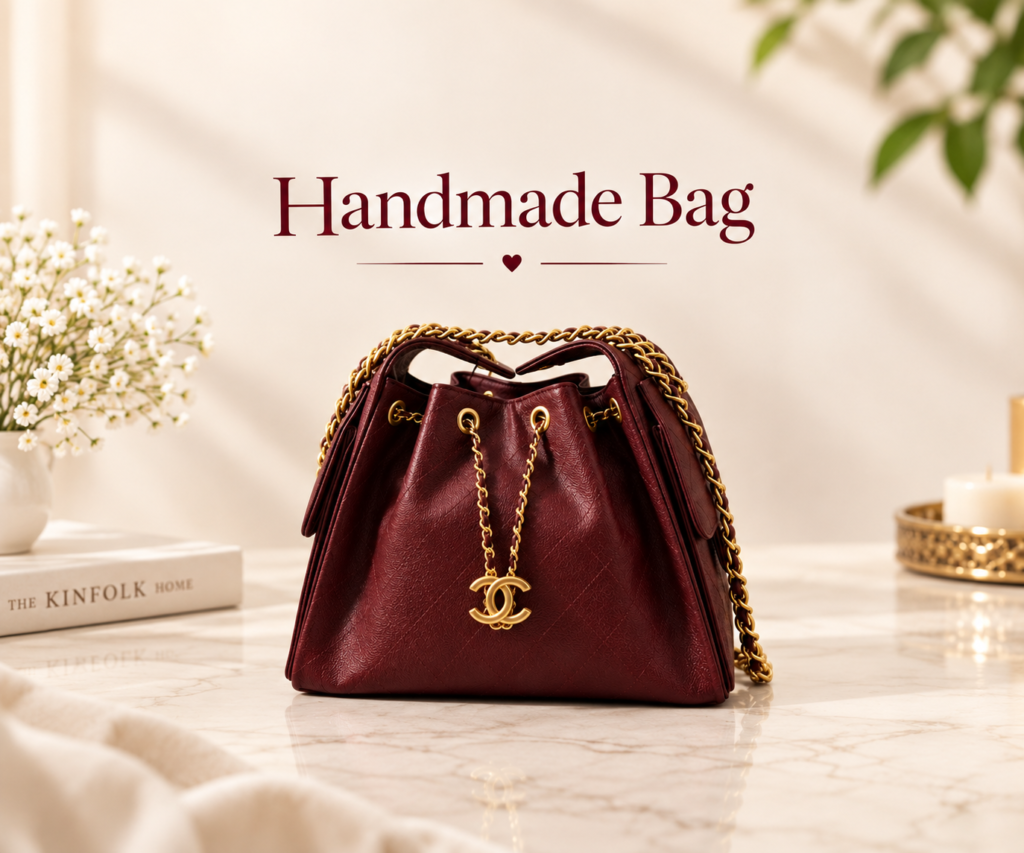
C25 Hobo Drawstring Bucket Bag Review
C25 Hobo Drawstring Bucket Bag The Rise of the C25 Hobo Drawstring Bucket Bag
Finding the ideal everyday handbag often feels like an impossible task. For example, many buyers switch between rigid tote bags and soft sh...
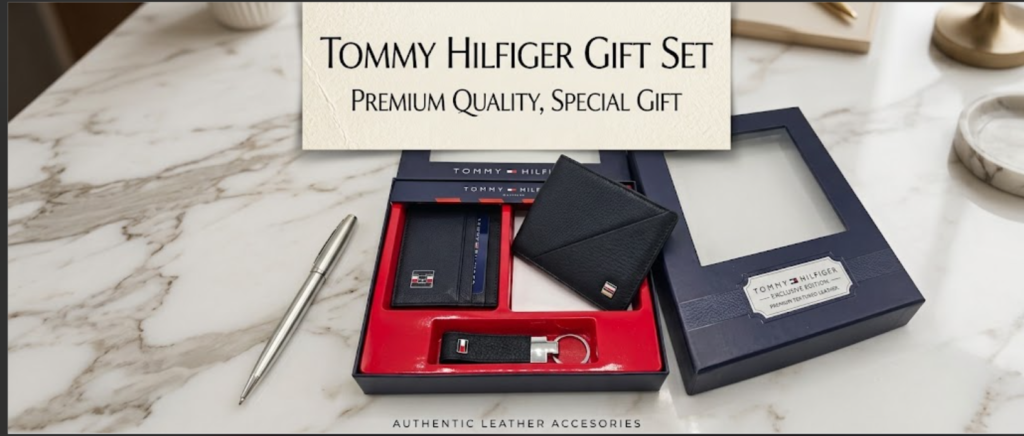
Black leather wallet gift set Premium Textured Leather
The Ultimate Blend of Style and Function: Black Textured Leather Gift Set
When it comes to personal style, the details speak louder than words. You can wear a tailored suit or a crisp casual shirt, but pulled-out worn...
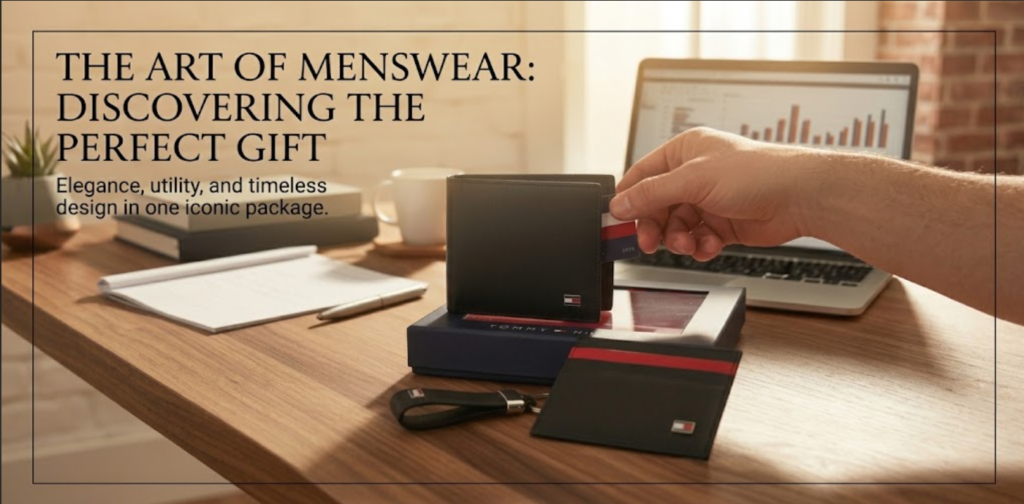
Black Wallet Gift Set for Men Keychain Gift Set Textured Grain
Black Wallet Gift Set for Men Wallet, Cardholder & Keychain
Finding a useful and stylish gift can be hard. However, the Black Wallet Gift Set for Men gives you three useful items in one set. It includes a wallet, ...
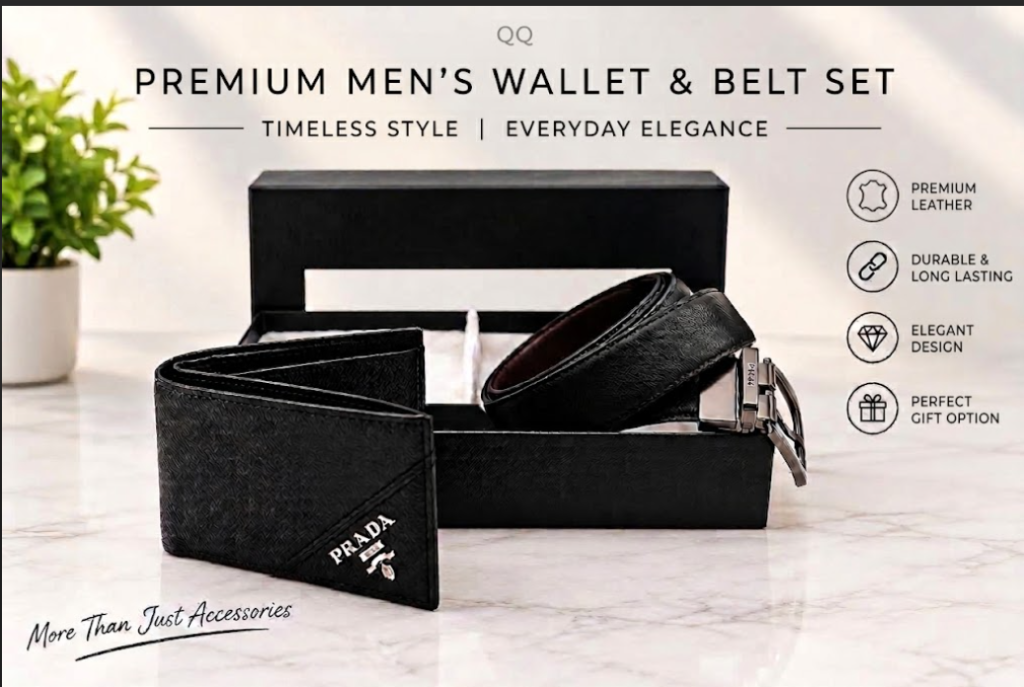
Black Wallet & Dress Belt Gift Set – Classic Buckle
Black Wallet & Dress Belt Gift Set – Classic Buckle
Looking for a stylish and practical gift for men? The Black Wallet & Dress Belt Gift Set – Classic Buckle is an excellent choice. This elegant combination br...